

How To Wire A New Electrical Circuit (Step-By-Step Safety Guide)
Wiring a new electrical circuit sounds intimidating — and honestly, it should command your respect. Electricity is unforgiving. But with the right tools, a solid understanding of safety, and a careful step-by-step approach, you can learn how the process actually works. At Caliber Electric in Oklahoma City, we handle circuit installations every single day, and we want homeowners to understand what goes into doing the job RIGHT.
This guide walks you through everything — from the tools you’ll need to the codes you can’t ignore. Whether you’re planning a project or just want to know what the pros do, keep reading. And remember: when in doubt, calling a licensed electrician is always the safest bet.
What Tools and Materials Do You Need to Wire a New Circuit
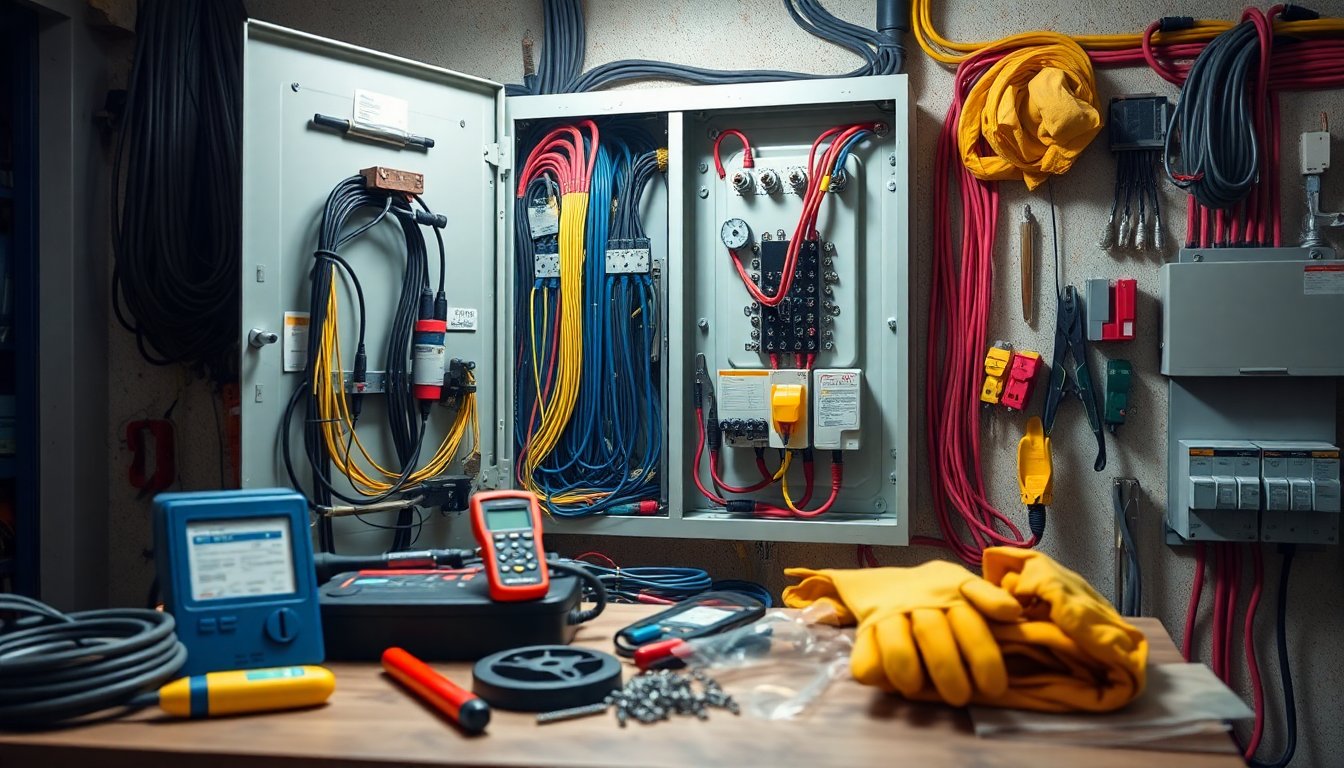
Before you touch a single wire, you need the right gear. Trying to wire a circuit with half the tools is a recipe for frustration (or worse). Good tools make the job safer, faster, and cleaner. Here’s what we bring to every job — and what you’ll need if you’re tackling something small yourself.
- Voltage tester (non-contact) — the single most important safety tool you own.
- Wire strippers — for clean, damage-free wire ends.
- Needle-nose and lineman’s pliers — bending, twisting, gripping.
- Insulated screwdrivers — flathead and Phillips.
- Fish tape — for pulling wire through walls and conduit.
- Cable ripper or utility knife — to open the outer sheathing.
- Electrical wire (NM cable) — sized correctly for the circuit (more on that later).
- Circuit breaker — matched to your panel and load.
- Electrical boxes — for outlets, switches, or fixtures.
- Wire connectors (wire nuts) — for safe splices.
- Cable staples and clamps — to secure runs properly.
- Fish rods, drill, and spade bits — for boring through studs.
- Label maker or marker — label that new breaker (please).
If you’re planning bigger work — like adding a subpanel or rewiring a room — you may need conduit, a knockout punch, and more specialized gear. That’s usually when our licensed electrical services in Oklahoma City come in handy, since we already have the equipment and the know-how.
How to Turn Off Power and Verify a Circuit Is Safe
This step is NON-NEGOTIABLE. Every year, people get hurt because they assumed the power was off. Don’t assume. Verify. Working on a live circuit can cause severe shock, burns, or fire. Follow these steps in order, and never skip the verification.
- Locate your main electrical panel and open the door.
- Identify the breaker controlling the circuit you’re working on. If you’re installing a NEW circuit, you’ll still need to work near live bus bars — so treat everything as energized.
- Switch the breaker to the OFF position. For a whole-home shutdown, flip the main breaker.
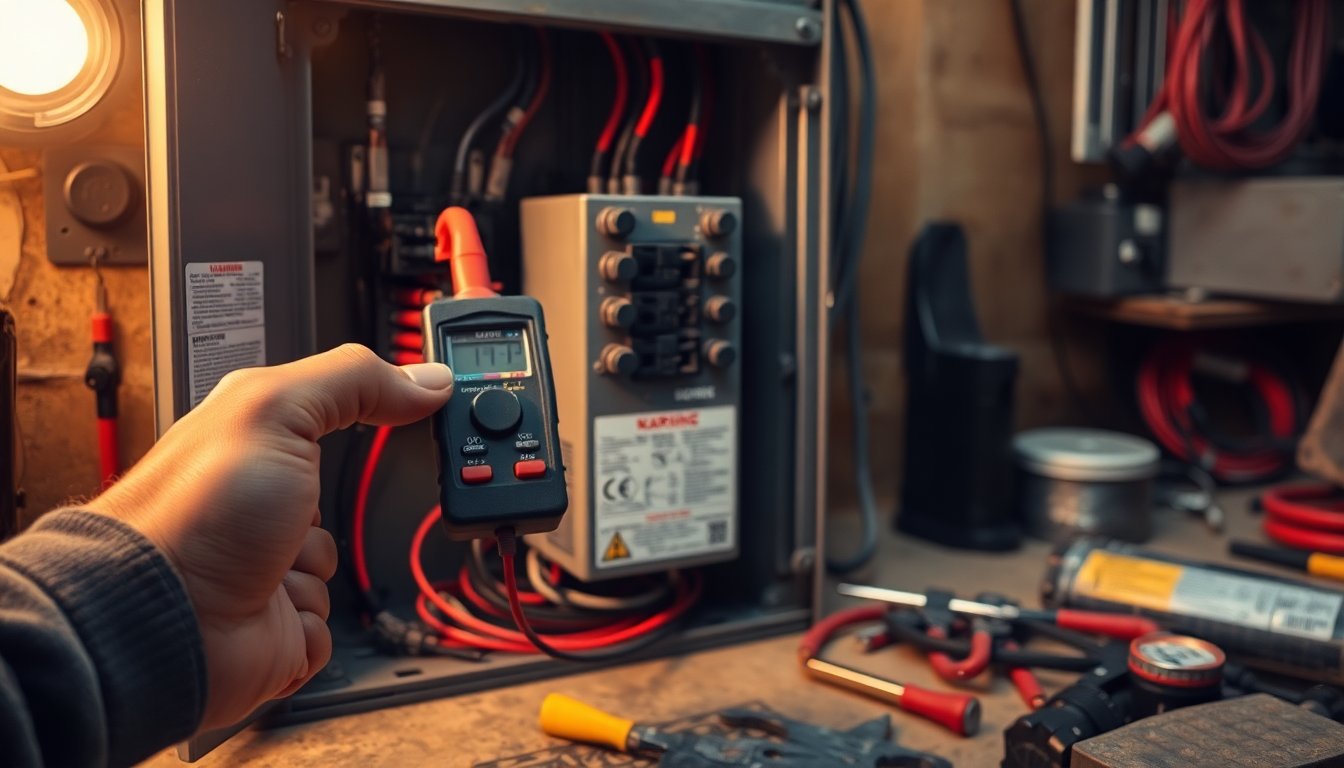
- Use a non-contact voltage tester on the wires and receptacles you plan to touch. It should read nothing.
- Double-check with the tester on a KNOWN live outlet first — to confirm the tester is actually working.
- Place a note or lockout tag on the panel so no one flips the breaker back on while you work.
- Only proceed once you’ve confirmed — twice — that there is zero voltage.
When you’re wiring into the panel itself, the bus bars stay energized even with individual breakers off. That’s the part that catches people. If you’re not 100% comfortable near a live panel, this is where our electrical panel installation and repair team steps in to keep you safe.
Step-by-Step Guide to Wiring a New Electrical Circuit
Alright — here’s the heart of it. Wiring a new circuit means running a dedicated line from your panel to a new outlet, fixture, or appliance. The process is logical once you break it down. Take your time. Rushing electrical work is how mistakes happen. Here’s the general workflow we follow.
- Plan the route. Map out where the circuit starts (the panel) and where it ends (the device). Measure your run and account for bends and studs.
- Turn off power and verify. Yep — the step above. Do it every time.
- Install the electrical boxes. Mount your outlet, switch, or fixture boxes at proper heights. Standard outlets sit about 12 inches off the floor.
- Drill and run the cable. Bore holes through studs (centered, to stay clear of nails) and pull your NM cable from the device location back toward the panel. Use fish tape for tricky spots.
- Secure the cable. Staple it within 8 inches of each box and every 4 feet along the run. Don’t crush the sheathing.
- Strip and connect at the device. Strip the wires, connect black (hot) to brass, white (neutral) to silver, and ground to the green screw. Wrap connections neatly.
- Prepare the panel connection. With the panel power OFF (and treating bus bars as live), route the cable into the panel through a clamp.
- Install the breaker. Connect the hot wire to the new breaker, the neutral to the neutral bar, and ground to the ground bar. Snap the breaker into an open slot.
- Label everything. Mark the new breaker clearly on the panel directory.
- Restore power and test. Flip the breaker on and test your new circuit with a plug tester or multimeter.
Even a simple circuit has a dozen ways to go sideways. If you’re adding a new outlet and want it done to code the first time, our plug installation services take the guesswork (and risk) out of it entirely.
How to Choose the Right Wire Gauge and Breaker Size
This is where a lot of DIYers get tripped up. Wire gauge and breaker size have to MATCH the load. Too small a wire on too big a breaker? That’s a fire hazard — the wire can overheat before the breaker ever trips. The rule is simple: the breaker protects the wire, so they must be sized together. Here’s a quick reference for common household circuits.
- 14-gauge wire → 15-amp breaker — general lighting and standard outlets.
- 12-gauge wire → 20-amp breaker — kitchen, bathroom, and garage outlets.
- 10-gauge wire → 30-amp breaker — electric dryers, water heaters.
- 8-gauge wire → 40-amp breaker — ranges, larger appliances.
- 6-gauge wire → 50-amp breaker — electric ovens, some EV chargers.
A few extra pointers: longer wire runs may require you to bump UP a gauge to prevent voltage drop. Dedicated circuits (like for an EV charger or major appliance) need their own dedicated breaker. And never — EVER — put a larger breaker on smaller wire just to stop nuisance tripping. That’s a dangerous shortcut we see far too often.
Electrical Safety Codes and Permit Requirements to Know
Electrical work isn’t just about making things work — it’s about making them work SAFELY and legally. In Oklahoma, most new circuits require a permit and inspection. Skipping this can affect your insurance, your home sale, and most importantly, your safety. Here’s what to keep in mind.
Permits Are Usually Required
Adding a new circuit typically requires an electrical permit from your local municipality. Cities like Oklahoma City, Edmond, and Norman each have their own permitting offices. An inspector will verify the work meets code before it’s approved. Unpermitted work can come back to bite you when you sell.
The National Electrical Code (NEC)
The NEC is the baseline standard nearly every jurisdiction follows. It dictates everything — wire sizing, box fill, GFCI and AFCI protection, grounding, and clearances. It updates every three years, so working from an outdated guide can leave you out of compliance.
GFCI and AFCI Requirements
Kitchens, bathrooms, garages, laundry rooms, and outdoor areas require GFCI protection. Bedrooms and living spaces often require AFCI protection. These aren’t optional — they’re code, and they save lives by cutting power at the first sign of a fault.
Licensed Electricians and Inspections
Many jurisdictions require certain work to be performed or signed off by a licensed electrician. Even when DIY is allowed, an inspection is your safety net. It confirms the job is right before you close up walls and forget about it. If code compliance feels overwhelming, that’s exactly what we’re licensed to handle.
Common Wiring Mistakes and How to Avoid Them
We’ve been called out to fix plenty of well-intentioned DIY jobs — and the same mistakes come up again and again. The good news? Most are completely avoidable once you know what to watch for. Here are the biggest offenders and how to steer clear.
- Overloading a circuit — putting too many outlets or high-draw devices on one line. Plan your load before you wire.
- Wrong wire-to-breaker match — the deadly combo we mentioned earlier. Always size them together.
- Loose connections — under-tightened terminals cause arcing and heat. Snug every screw and tug-test every wire nut.
- Reversed polarity — swapping hot and neutral. It’ll seem to work but creates a shock hazard.
- Not enough wire in the box — leave at least 6 inches of usable wire at each box for connections.
- Cramming too many wires in a box — box fill limits exist for a reason. Overstuffed boxes overheat.
- Skipping the ground — grounding isn’t optional. It’s your protection against faults.
- Improper cable support — unsecured cable can get damaged or pull loose over time.
- Forgetting GFCI/AFCI protection — a common code failure that inspectors catch immediately.
- Not labeling the breaker — a small step that saves major headaches later.
The pattern here is simple: haste and shortcuts cause almost every problem. When a job feels beyond your comfort zone, there’s no shame in calling a professional. That’s what we’re here for.
Conclusion
Wiring a new electrical circuit comes down to preparation, patience, and RESPECT for the danger involved. Gather the right tools, always verify the power is off, match your wire to your breaker, and follow local codes and permit rules to the letter. Avoid the common mistakes — overloading, loose connections, and skipped grounds — and you’ll have a safe, reliable circuit.
That said, electrical work is one area where DIY confidence can quickly turn into real risk. If your project involves a panel, a major appliance, or anything you’re unsure about, let the licensed team at Caliber Electric in Oklahoma City handle it. We serve Moore, Norman, Edmond, Yukon, Mustang, and the surrounding communities — and we’re ready to get your new circuit done safely and up to code.


